How to create a WordPress custom post type plugin (Fast Tutorial)
Today, WordPress has a market share of about 60% of web technology usage. So, it is the most used web platform around the world.WordPress framework is very rich and full of features which make it easy to learn. There are many ways to do things in WordPress and this article will show you an easy way to create a WordPress custom post type plugin.
What is a custom post type
According to WordPress Codex, “Custom Post Types” also known as “Custom Content Types” is the specific type of post types that can be added to your WordPress using a simple function called the register_post_type(). The function allows you to add the new custom post type in accordance with a number of specifics such as supported features, availability, and labels.
Custom post type function
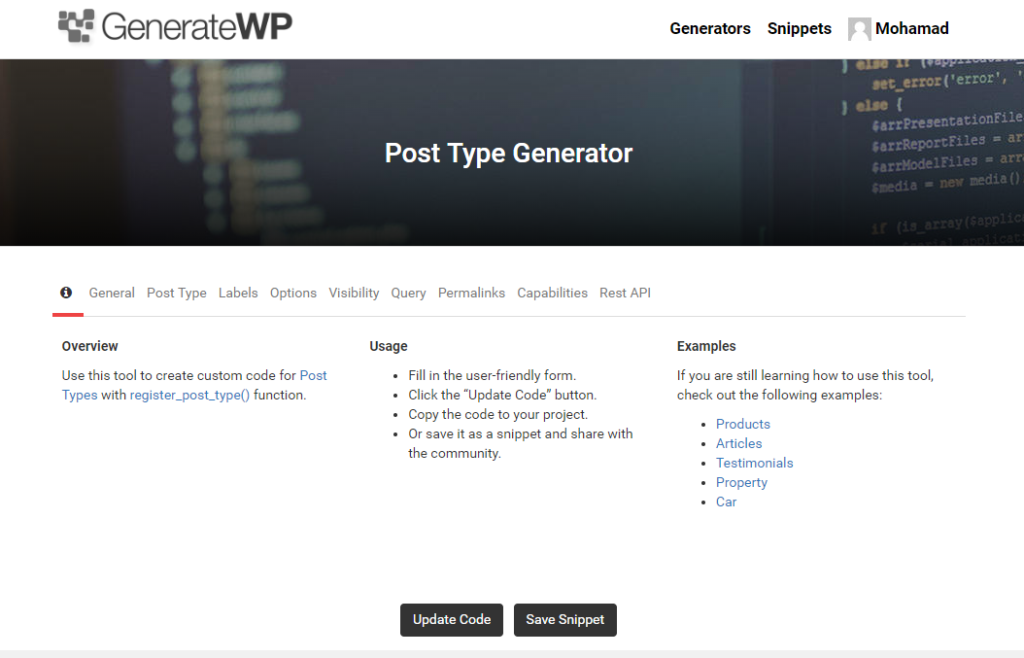
The fastest way to generate a custom post type function is to go to genereatewp.com and sign up for an account. Then, go to generators and search for custom post type generator and click on it or open it via this link. After that, Fill the required fields regarding the explanation text related to each of them. Make sure that you go through available tabs to ensure that you fill the fields important for your custom post type. After filling the required fields, go and click on the generate button. The page will generate the required function and will be available for you to copy it.
Create a WordPress custom post type plugin
Making a plugin from the generated custom post type is very easy. I will explain the points by ordering them below:
- Create a folder with any name that you want
- Create a file inside the folder with the same name as the folder followed by .php
- Open the created file and paste the following plugin information code in it
<?php/** * Plugin Name: [your plugin name] * Plugin URI: [your plugin support link] * Description: [your plugin description] * Version: [your plugin version number] * Author: [your name] * Author URI: [your website] */
- Replace the plugin information with desired one
- Copy the generated code and paste it right below the previous code
- Add the plugin folder to a zip folder
- Upload the new plugin folder to your WordPress site
- Activate the new plugin
- It is done!
To check that the new plugin is working, check the admin menu to find the plugin menu item and that is it!

Comments
Post a Comment